Revised for Version 24.0
Before a user can add their first Blood Pressure Reading record to BPTrakr, they need to create a new user profile. If the application is being launched for the first time, the new user will be presented with the Profile screen in Add Profile mode automatically.
How is my Profile Information Being Used?
The First Name and Last Name fields are the only data fields that are required for the profile. The name fields are used by BPTrakr to identify who the blood pressure readings belong to. Any additional Profile information, which is optional, is used exclusively in the BPTrakr Report, which is a report in PDF format that includes your profile information, blood pressure readings, and data analysis graphs. This comprehensive report can be either emailed or printed by you and presented to a medical professional. Your Profile information is kept completely private and stays only on your personal device.

Add a New User Profile
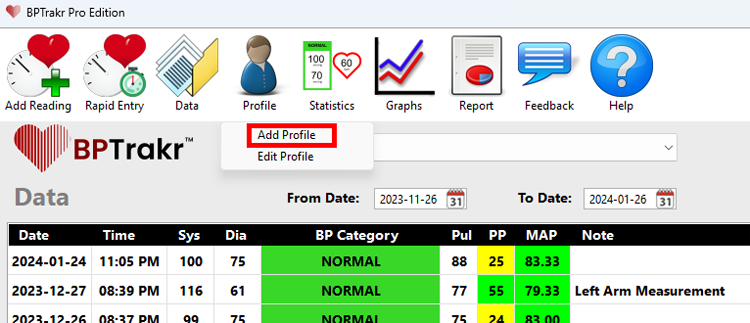
Step 1: On the toolbar, click on the Profile button and select Add Profile from the dropdown list. The Profile screen will appear.
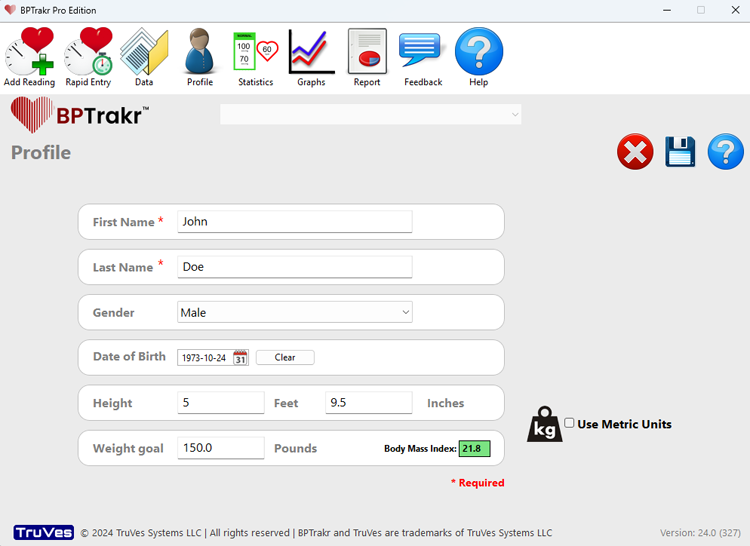
Step 2: On Profile screen, enter the user’s First Name and Last Name in the appropriate fields. The First Name and Last Name fields are the only data fields that are required. The following profile fields are optional:
- Gender
- Date Of Birth
- Height
- Weight Goal
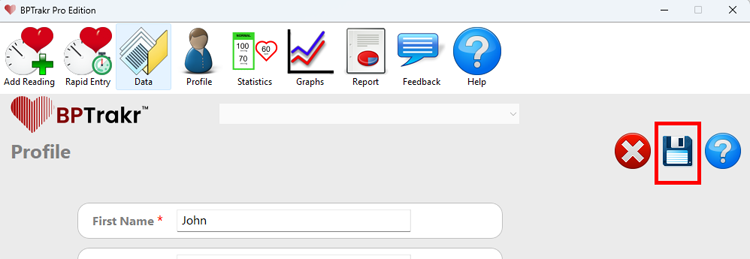
Step 3: After completing the desired fields, on the right-hand side of the Profile screen, click on the Save button to save the profile. Alternatively, you can press the Enter key while the cursor is positioned at any field, to save the profile.
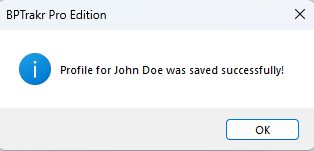
A message will appear confirming that the profile was saved successfully.